Shoplink
USP-Stick
The USP-Stick is a programmer for Atmels AVR-Controller. It uses the already used circuit of the AVR-ISP-Stick and was shrinked to a size that fits into an USB-A-housing. That means that you do not have problems with other usb-devices from the neighbor-port.
Beside this the programmer has already included a 6-pole programming cable. The VCC-pin of the ISP-Connector is always connected to 5V from USB.
Circuit-diagram
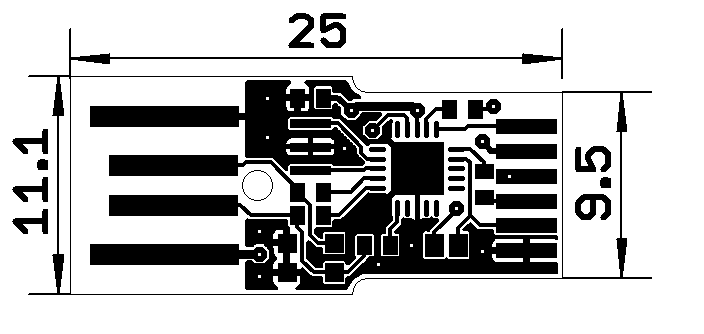
PCB

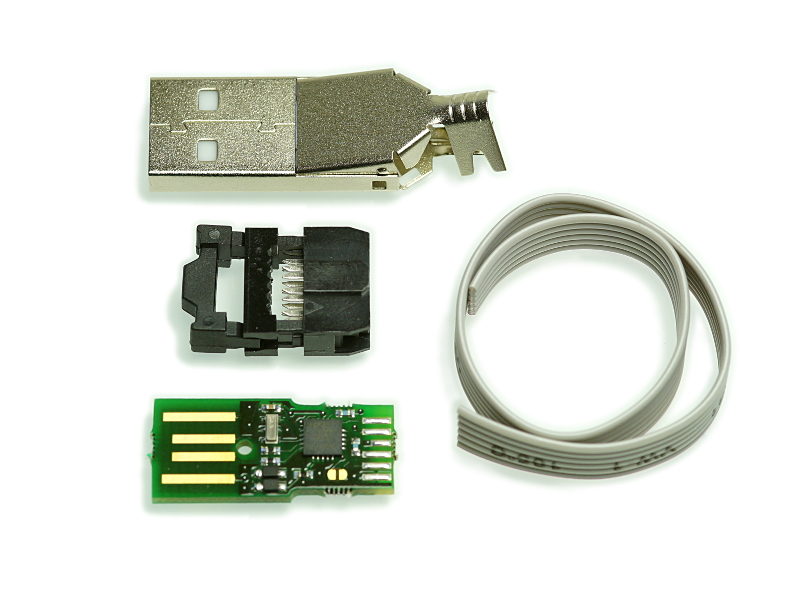
Assembly
Here you find a step-by-step instruction:
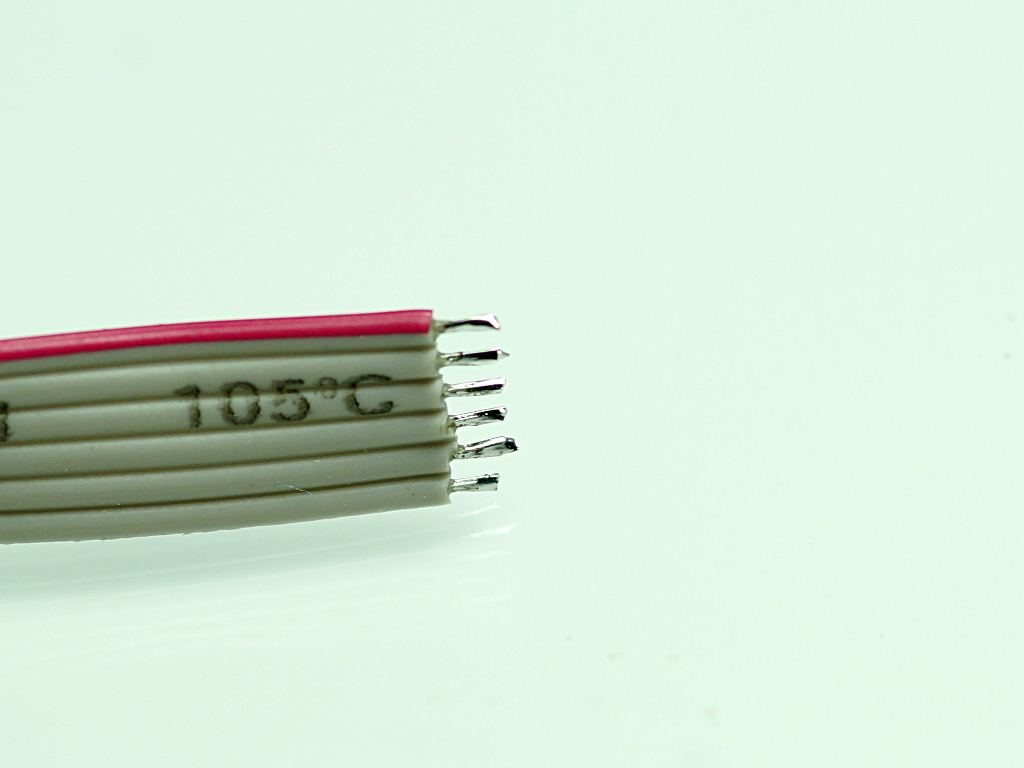
Cut about 2mm of the isolation from the ribbon cable. Best way is a front cutter or a Stanley knife:


Solder the wire-ends:
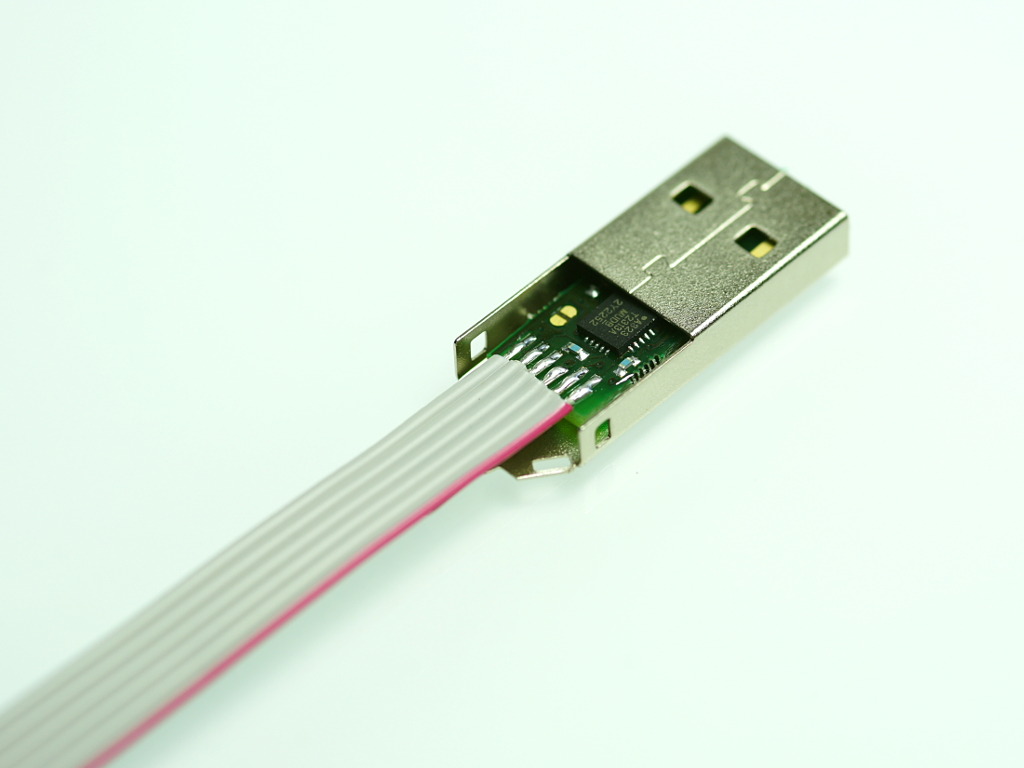
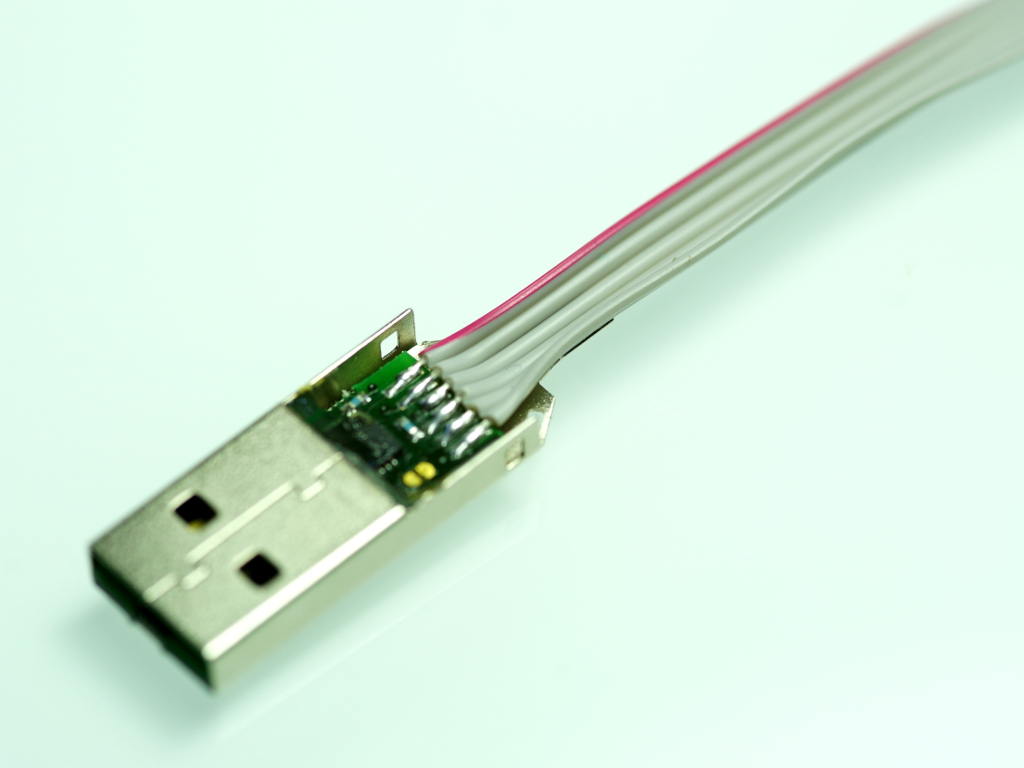
Solder the ribbon cable onto the PCB, pin 1 is located at the crystal-side:

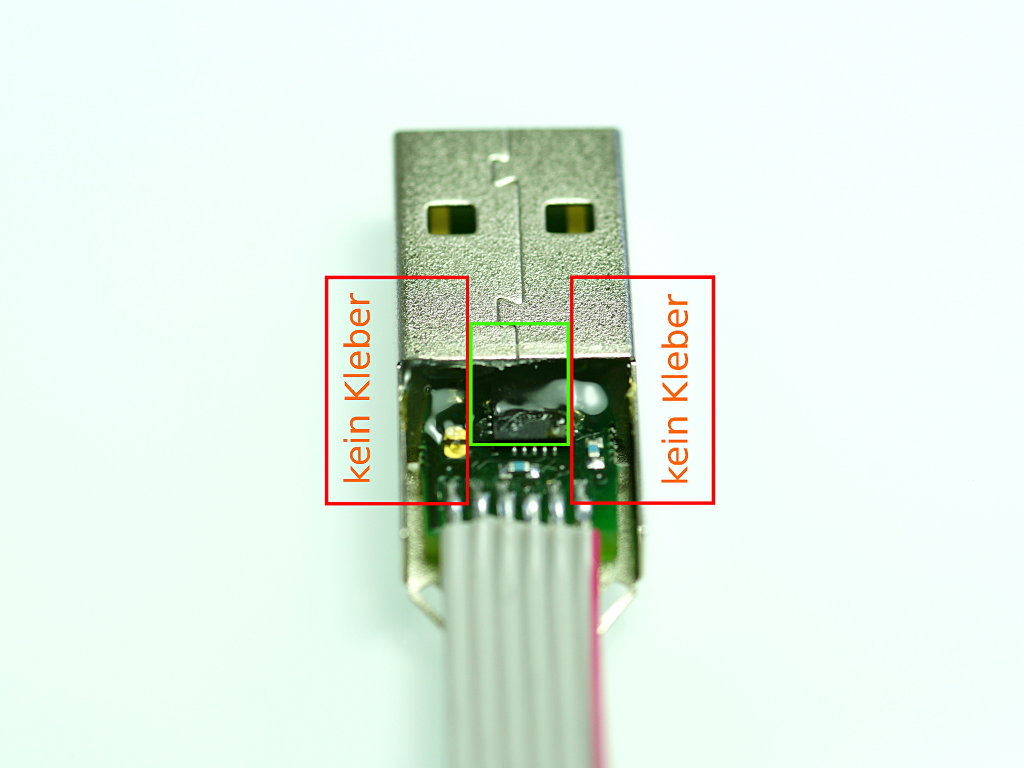
Place the PCB in the housing:

The PCB has to be fixed in the housing. Therefore you can temporarely fix it with the deliverd plastic-part:

Now you have a lot of opportunities to fix the PCB. The easiest way is hot glue. Just put a drop of it in the middle of the PCB, not at the side expect you want to get trouble mounting the cover… Another options is a drop superglue or to solder the pcb on the bottom at the golden pad:

Slightly bend the cable:
Mount the cover, look out for clamped cables:
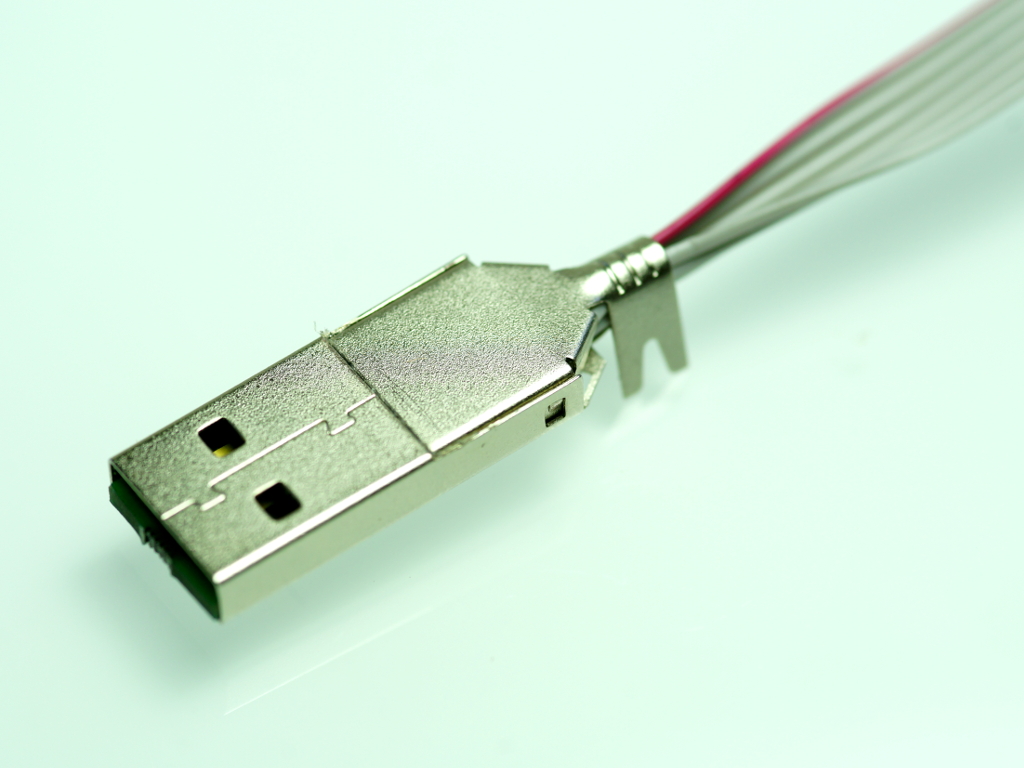
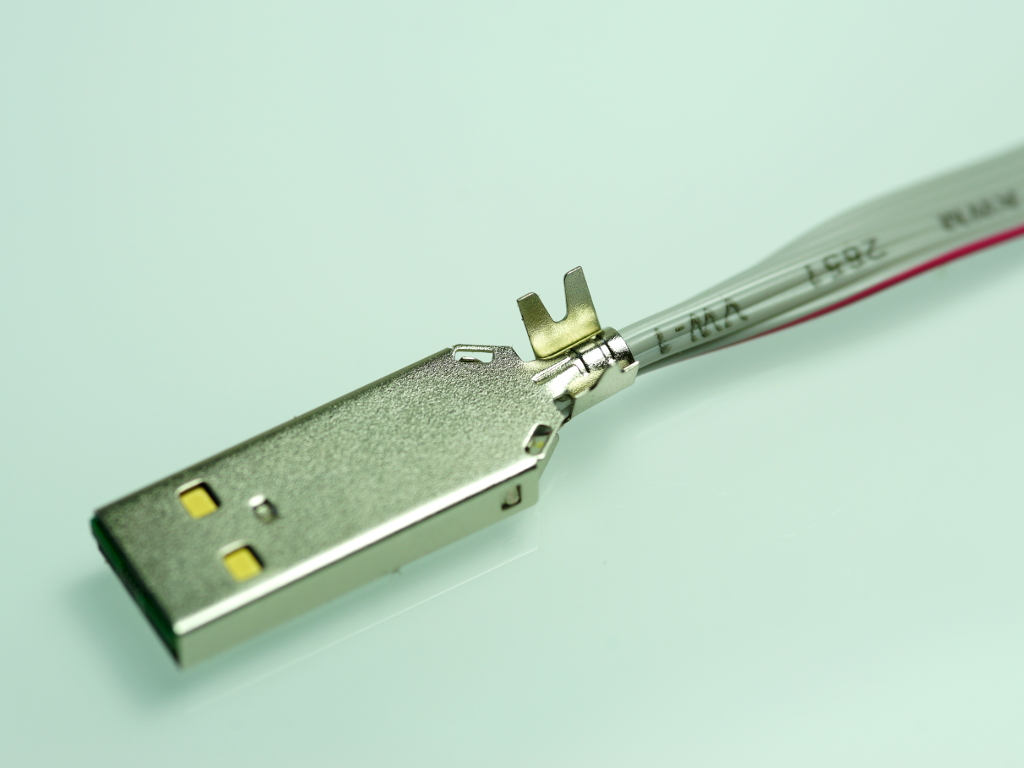
Bend over the cord grip:
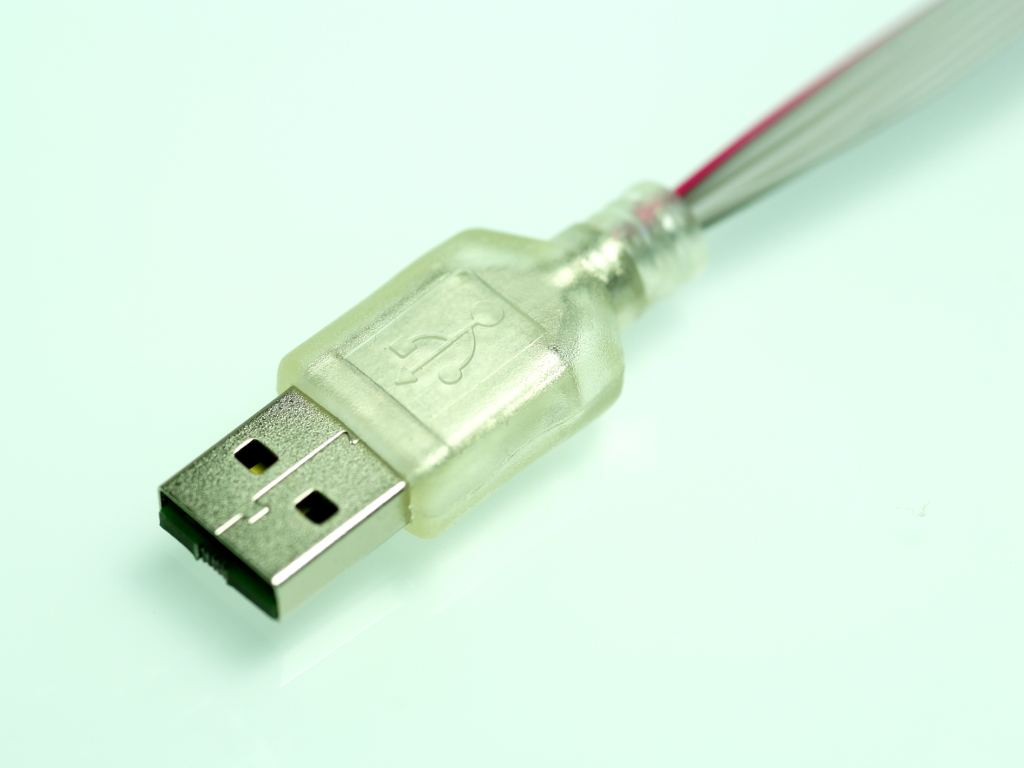
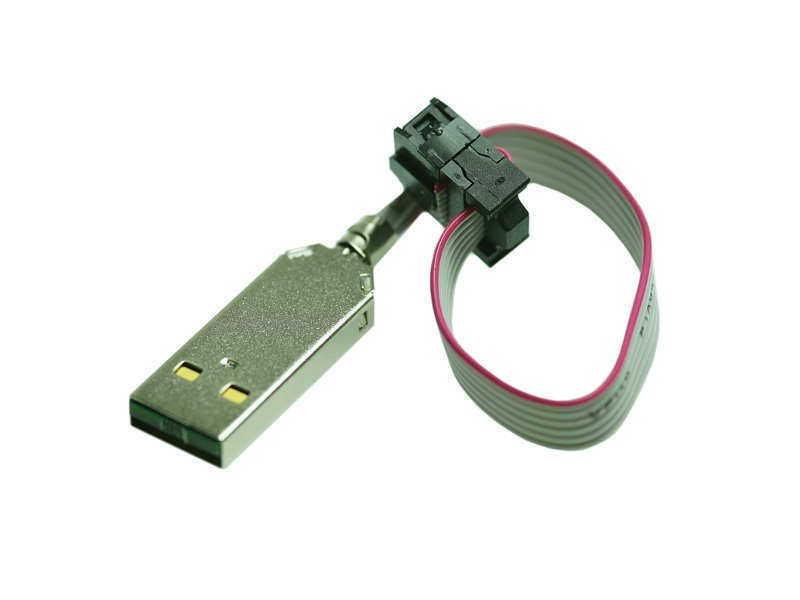
If you also bought the plastic housing mount it NOW:
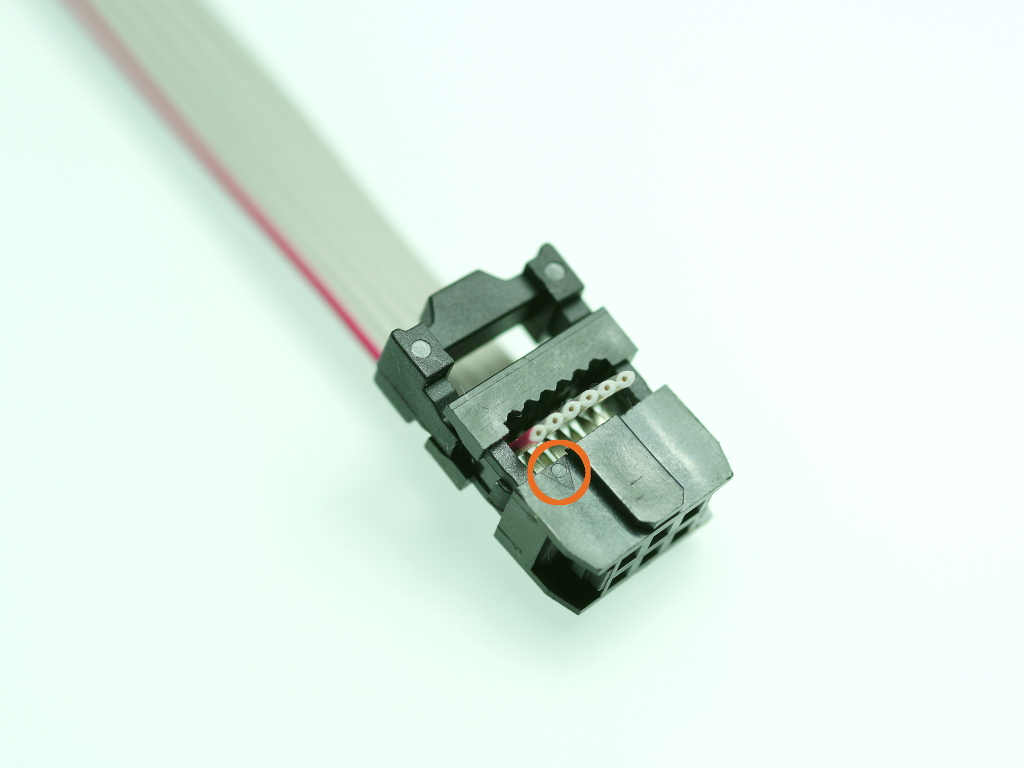
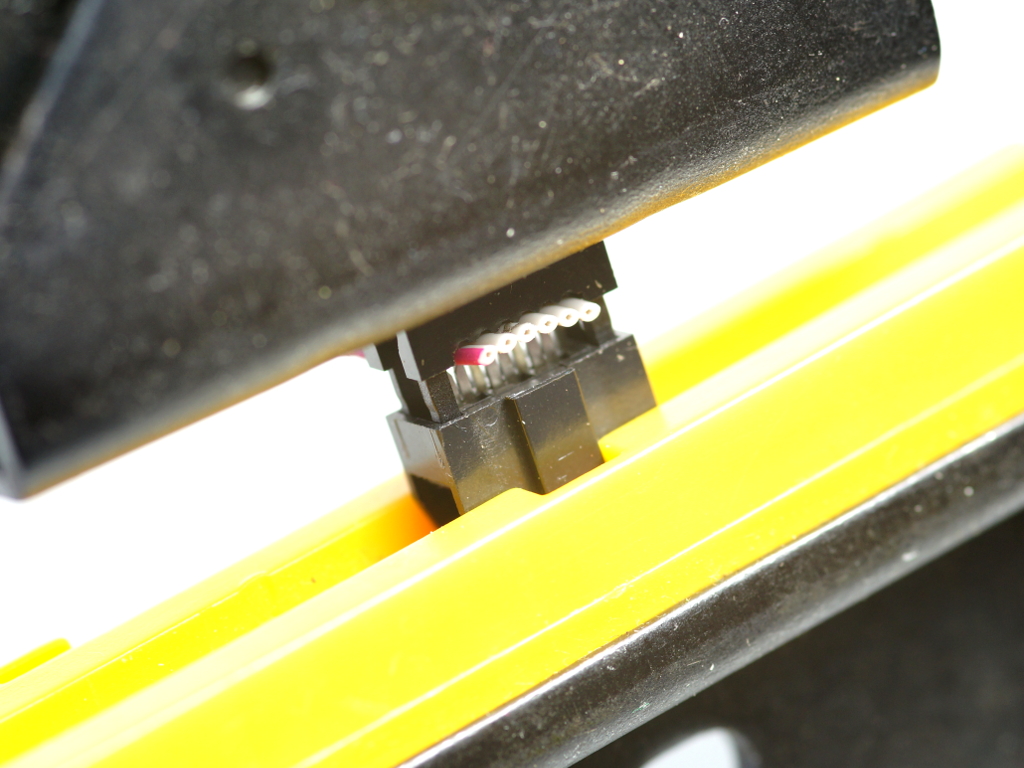
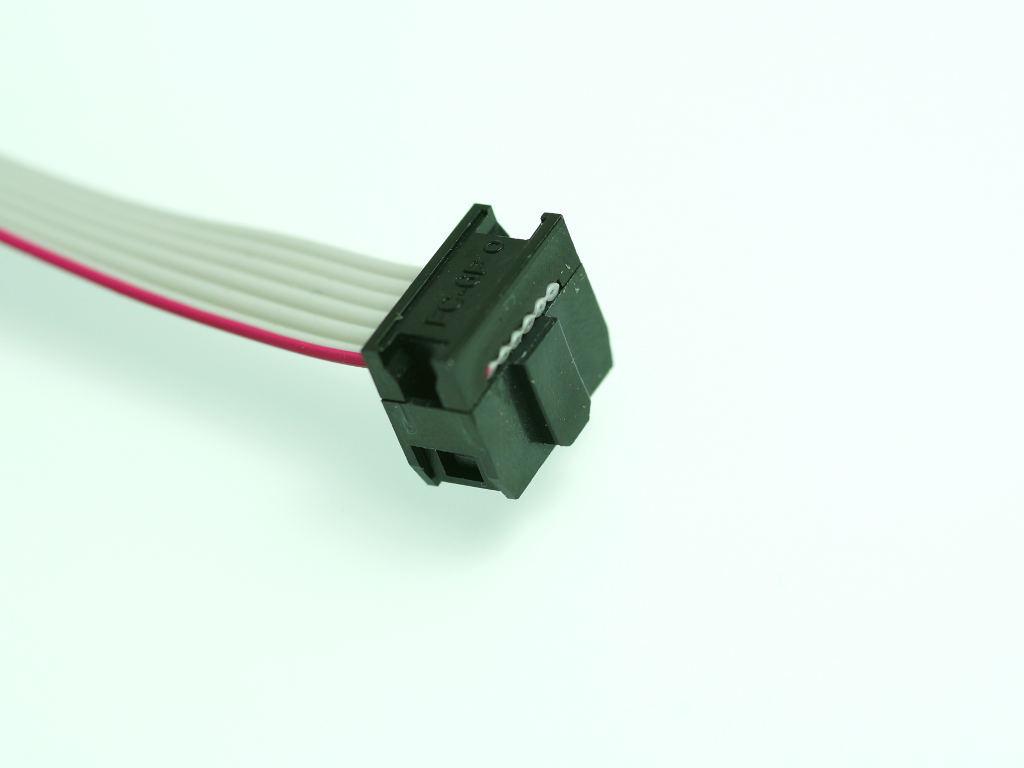
Crimp the ribbon cable into the connector, the red cable is pin 1 and marked with a small triangle. You can easily crimp the connector with pliers or a parallel vice:
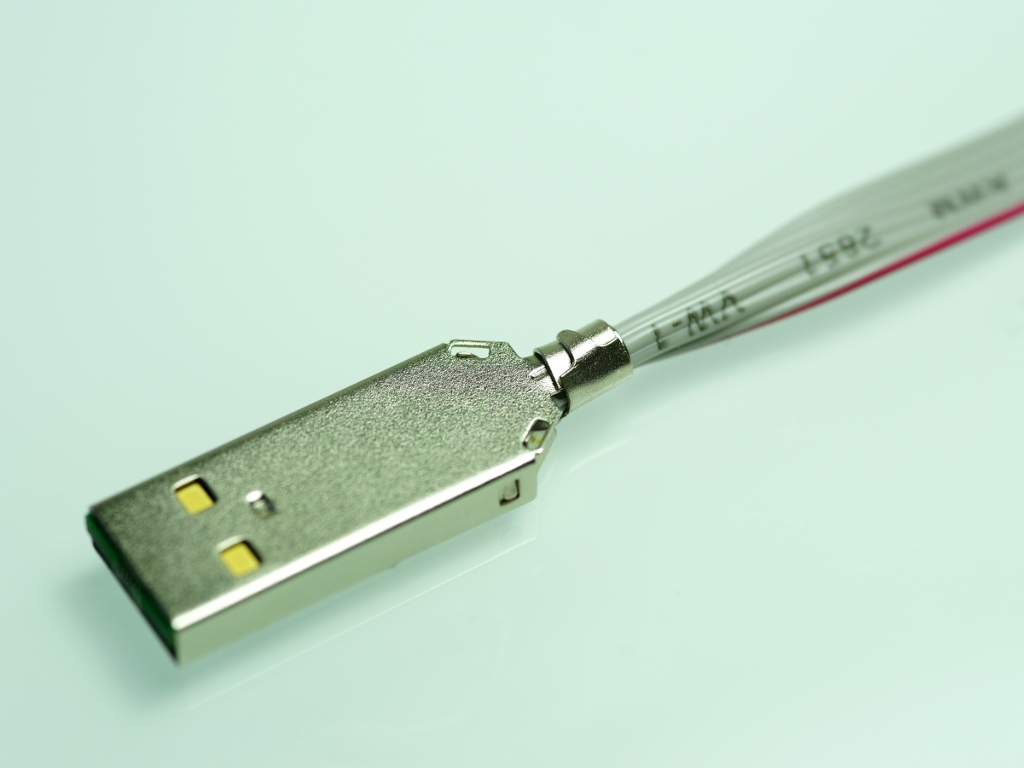
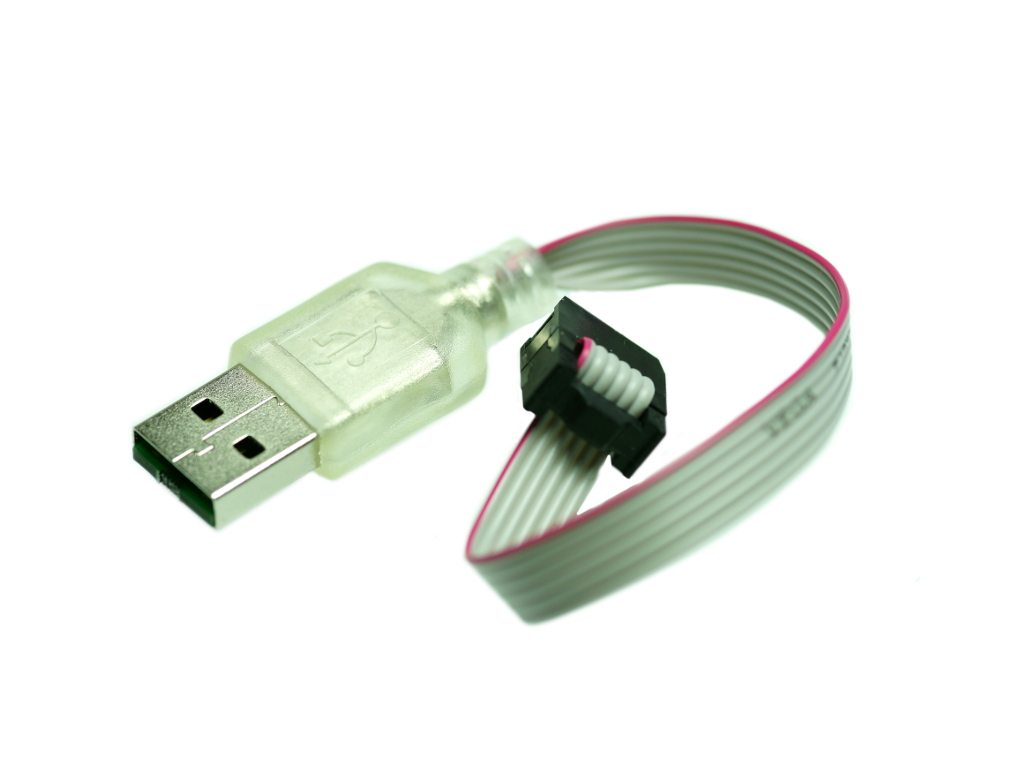
After mounting the cord grip the USP-Stick is finished and ready to use:
Flashing chips with the USP-Stick
I prefer to use avrdude to flash microcontroller.
With this small tool you can do everything via the console (Flash, fuses, …)
